Mapping using Latitude and Longitude Coordinates. Example: Lou Wise Collection
One of the methods of “geolocating” a digital object is by determining the latitude and longitude of the area. This is useful for digital photos, such as the one on display below, that cover a large geographic area or when the digital object cannot be connected to an address or postal code/zip code.
Step 1. Determining the Latitude/Longitude of your Digital Object
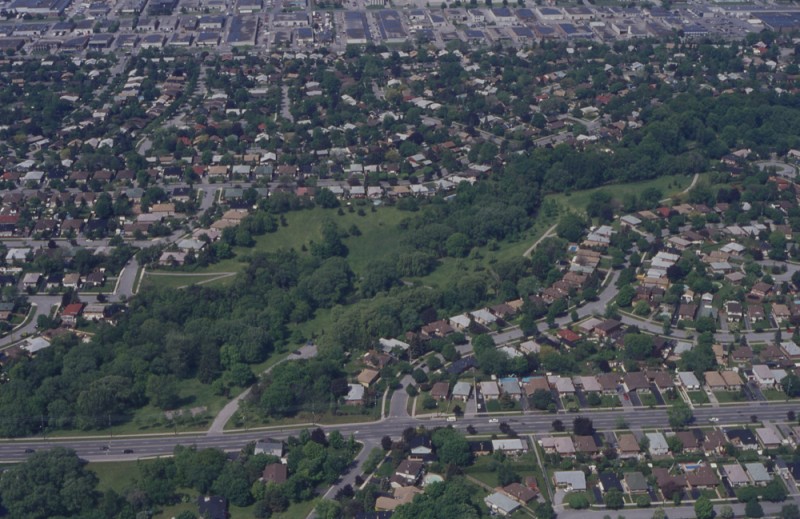
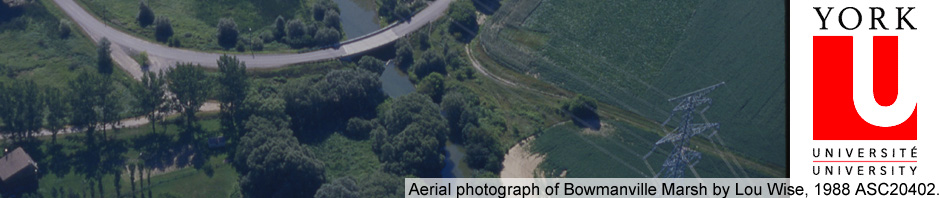
Oblique Aerial Photograph of Highland Creek. Lou Wise Collection, Archives and Special Collections, York University Libraries. Copyright: Lou Wise.
In this example, we only started with a few clues for this image. We knew it was Highland Creek and we knew that there was a Highland Creek in Scarborough. So, we did a search for this in Google Maps. We found Highland Creek in Google Maps, and we then explored along the creek until we got a matching location. With the right click of the mouse in Google Maps, you can find that latitude/longitude of the photo, and this data is entered into the Google Fusion table.
Step 2. Enhancing your metadata and preparing your data for mapping
We only had sparse metadata for this image. We included the latitude and longitude of the centre of each photo. We decided to add additional information about this location, including the Municipality (Toronto), Region (Toronto), and Conservation Authority (Toronto and Region Conservation Authority). This works well for small collections.
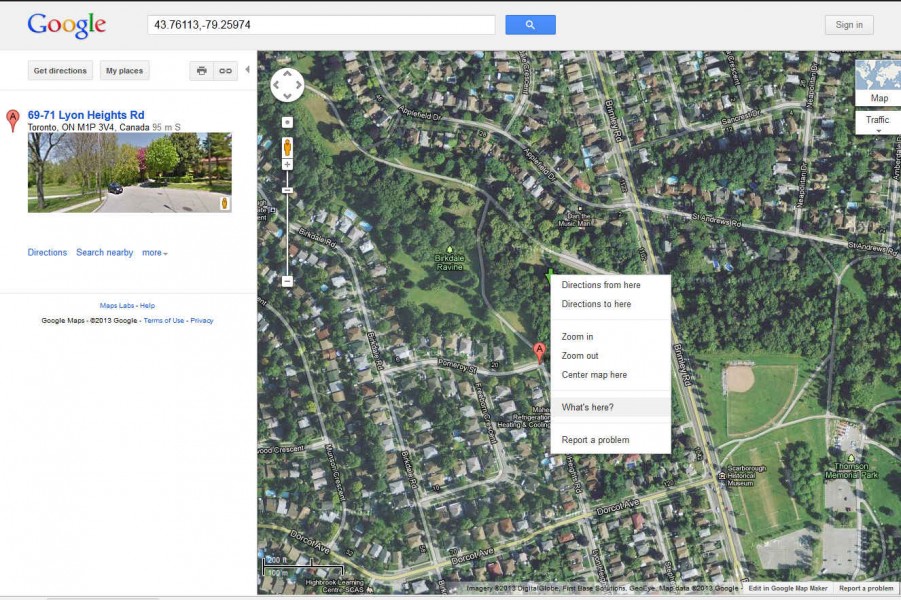
Locating the Latitude and Longitude an location in Google Maps
Since we had a very large collection (over 8000 photos), we chose to geo-locate each photo first, then use a Geographic Information System to generate the automatically the metadata for the Municipality, Regional Municipality, and Conservation Authority fields. If you chose to, you can also use subject headings, descriptive keywords to describe the image, or other controlled vocabularies. Below is a screenshot of the table we generated in Google Fusion tables showing a portion of the 1260 records for Highland Creek.
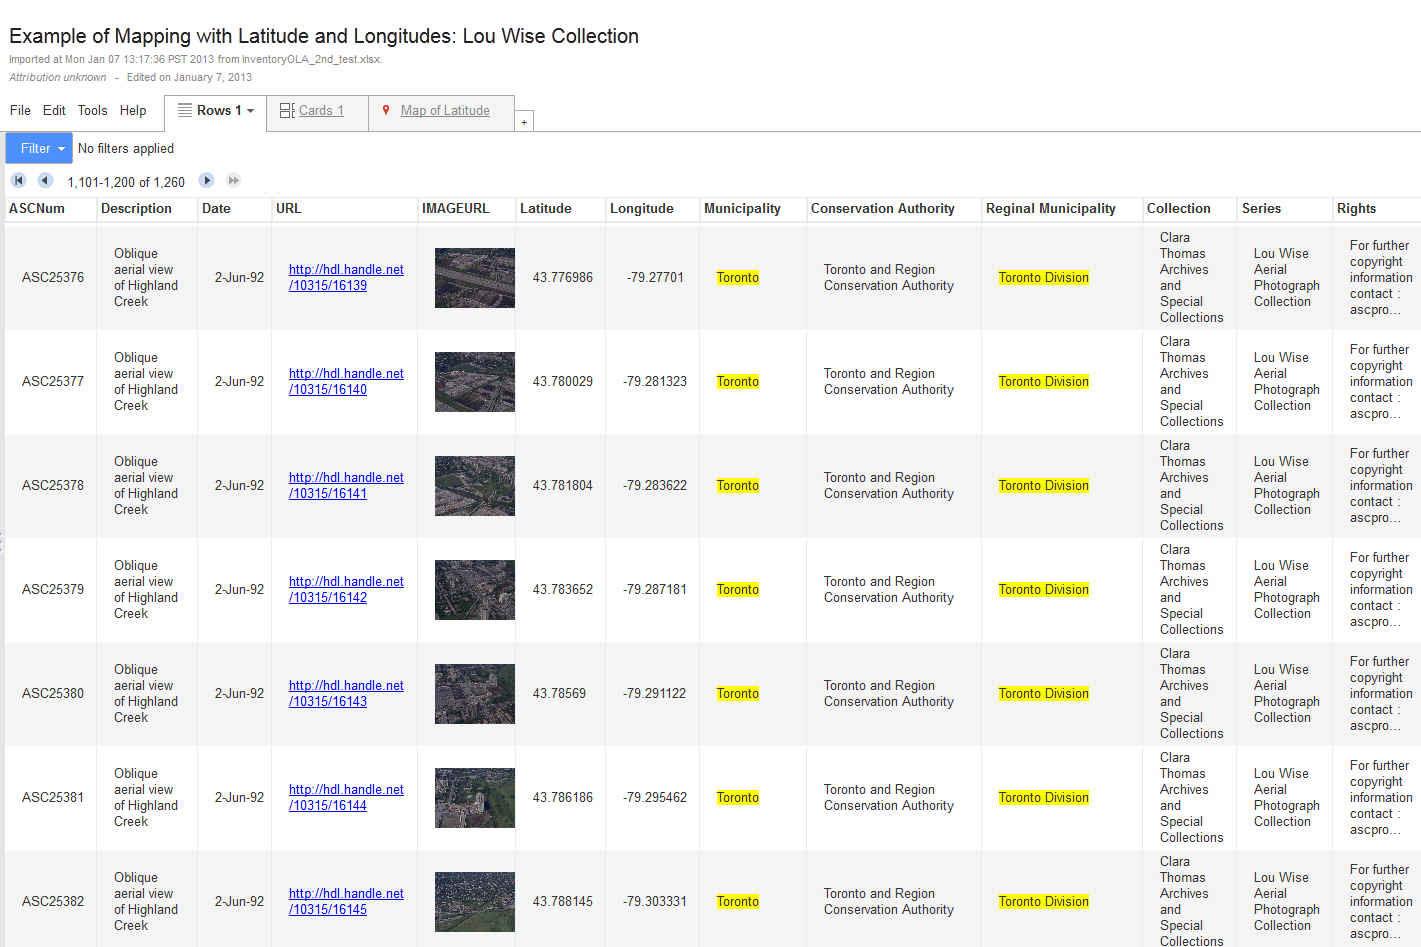
Extract of our the Lou Wise metadata in Google Fusion.
Step 3: Creating an Interactive Map and Embedding it on your Website
With a few clicks in Google Fusion, you can retrieve HTML code that can you can embed in your website. This is the code for the embedded map on display.
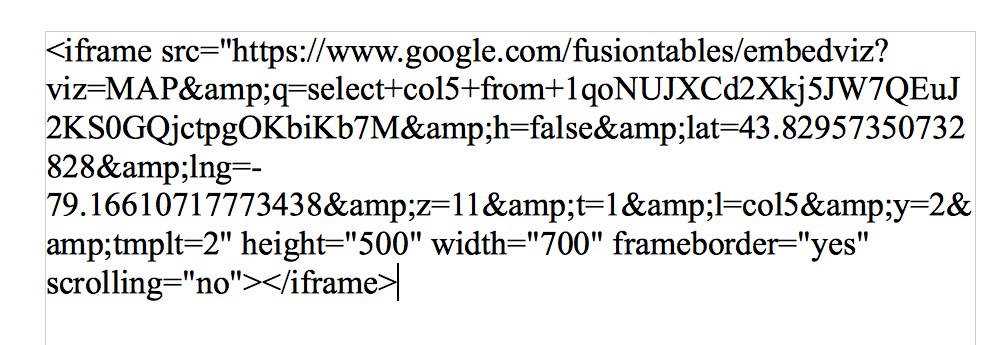
This is how the code is visualized on our website. This is a map of showing 1,260 oblique airphotos from our Lou Wise Airphoto collection.
You can also produce a KML data file of your mapped data. In this case, we produced a KML file for a portion of our Lou Wise Airphoto collection. There are two options to distribute KML files produced by Google Fusion.
- Use a networked hyperlink provided by Google Fusion. Example.
- Store on your local server and link to it via your website.
Note: to open KML files you will need to download and install Google Earth.