Neatline provides detailed documentation and instructions on their website available at GitHub here.
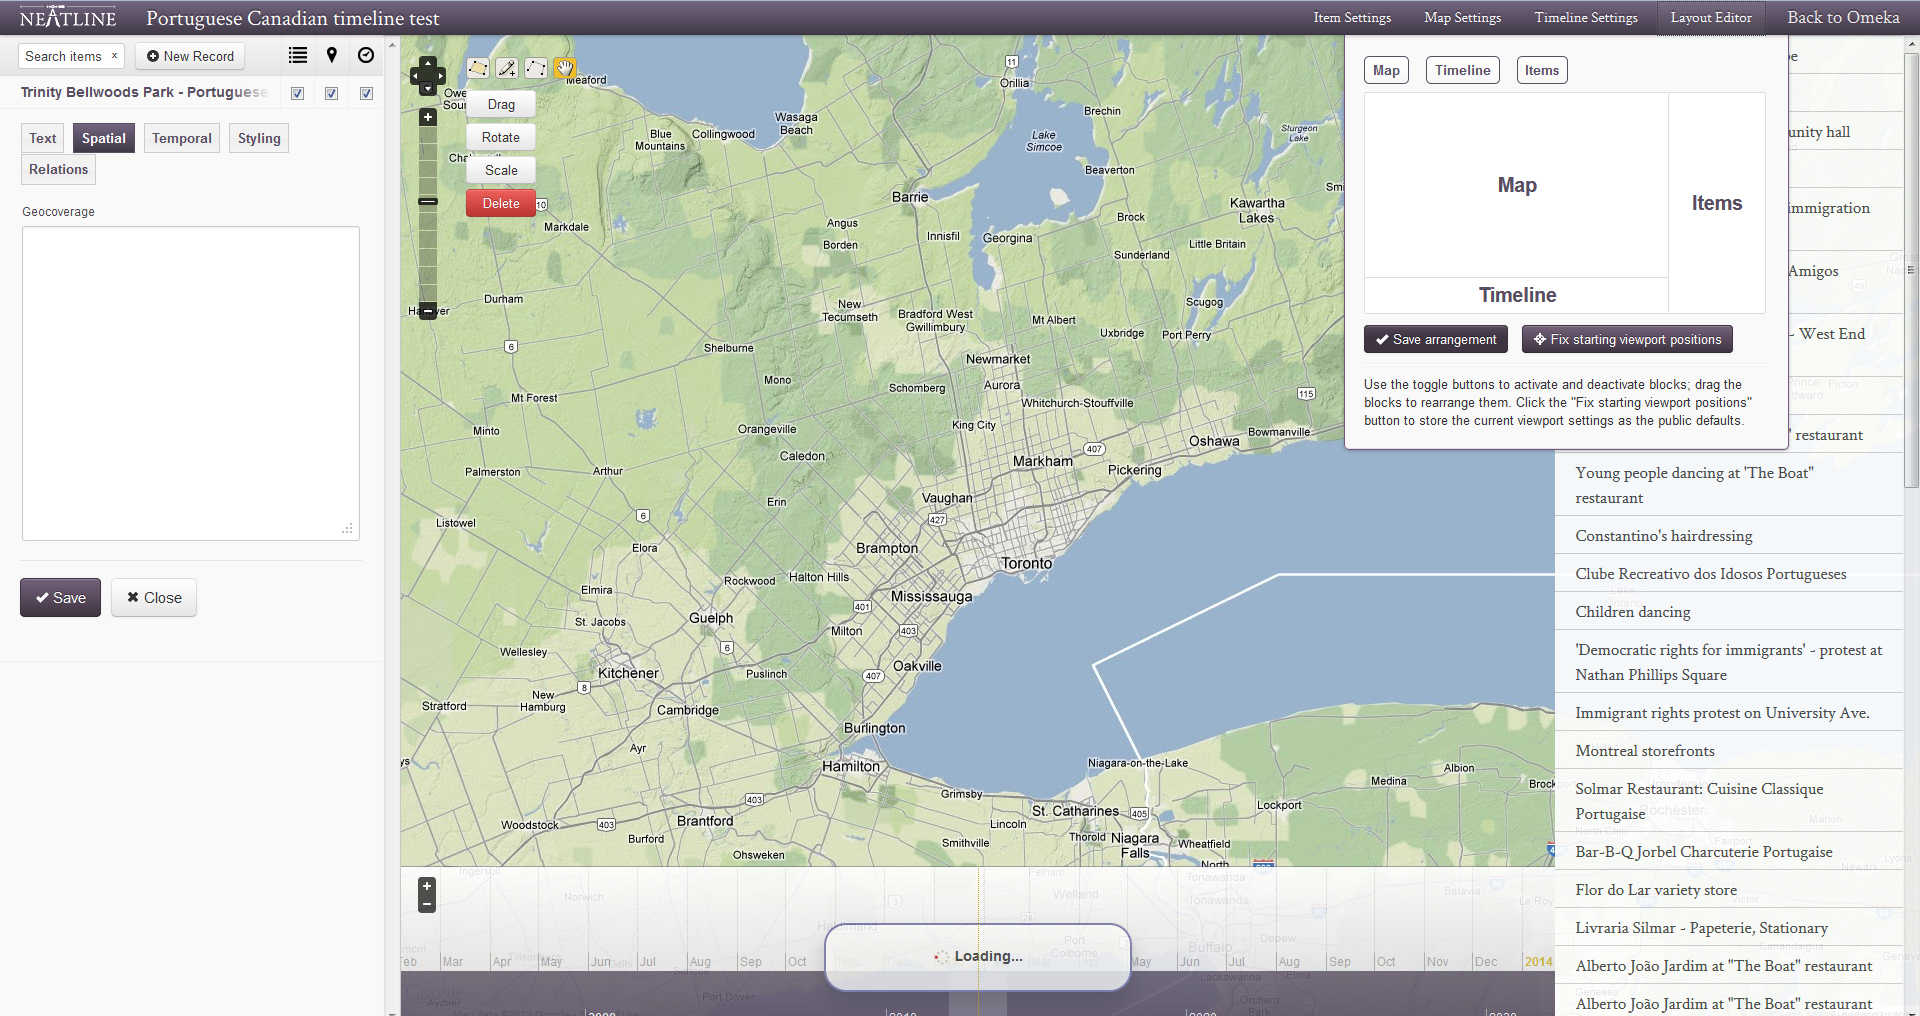
In the above image, one can view the main editing window where default displays can be established or adjusted.
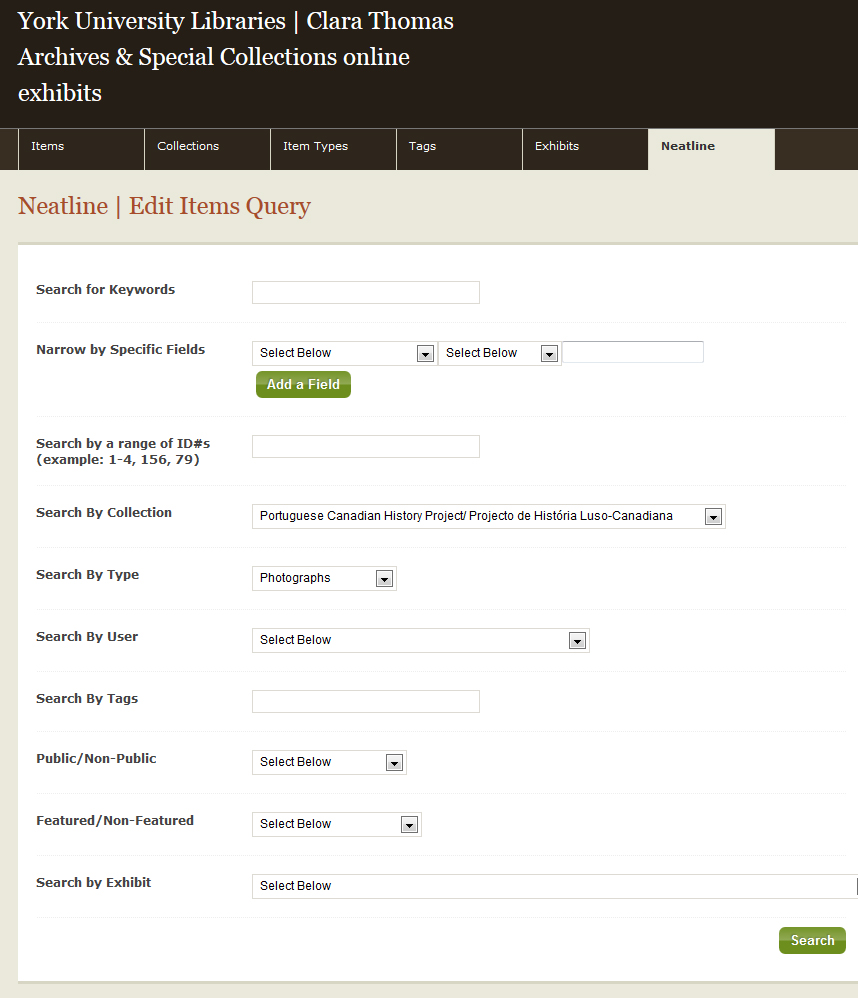
Running a query against your database of objects will help narrow down selected items to include in the timeline.
Once you’ve established a query against your collection of objects in Omeka, you can begin editing the Neatline proper by selecting what items you want in the exhibit and when/where/how you want them to appear.
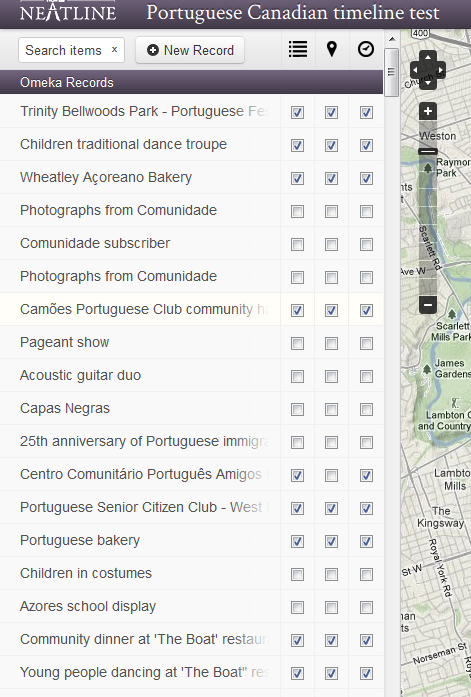
In this example, several images are selected to display the descriptive information or text (first column), the geo-location or spatial information (second column) and the date or temporal information (third column). All three options, as well as style information can be edited at this time.
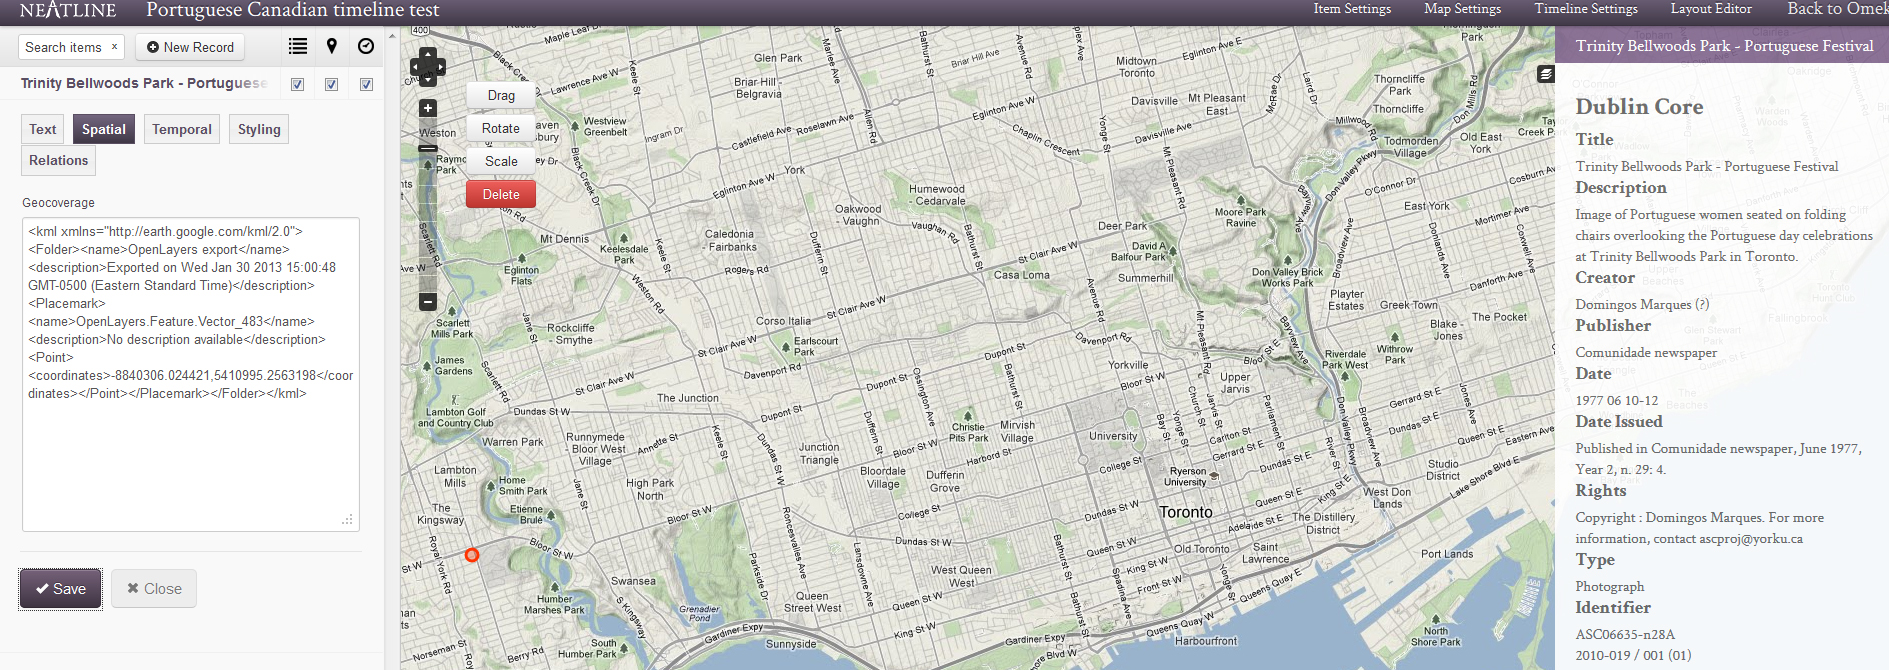
If the information did not import correctly, you can adjust this data or embed new data using the displayed map in the central field as shown above.